Towards the end of last year while I was overseas, my housemate sent me a message to notify me that he had brought his grandma’s record player home… I didn’t know how to react. While I was really exciting about the prospect of delving into the wonderful world of vinyl, I also knew that it would mean the beginnings of a very expensive and addictive hobby… No, not hobby. Passion. As expected, I returned home with an assortment of great records picked up at various Brooklyn flea markets. Vinyl records have been making a massive comeback over the past few years. The tangible, physical value of vinyl over CDs, in addition to the superior listening experience that a good home setup carries over digital audio is more than enough of a reason for this. In my trip to the USA, including New York, I was amazed to discover that many of the independent artists out there aren’t evening bothering to press CD’s anymore. What is becoming more and more apparent, is that a new release will be pressed to a limited run of vinyls, which include a digital voucher of the CD, as well as regular digital distribution. To me, this makes perfect sense except for the whole “recorded in digital, pressed to analog” thing. I’m curious whether the sound quality will be all that better.
Our HiFi Setup
So after working for a short time with my housemate’s grandma’s basic 90’s Kenwood vinyl setup, we both decided that it would be a sound investment to buy some more expensive gear and do this thing for real. So off we went to get a vinyl player. Pat (housemate) picked out a nice Sansui P-50 from Classic HiFi in Newtown up the road. Next, was a decent amp. My dad is an electrical engineer and he happens to have lots of nice gear just ‘lying around’. So he lent me his Sansui 555a on a permanent basis. Finally, Pat and I went back to Classic HiFi and picked out a pair of nice sounding Dali Speakers. All setup! …. Except for one thing. A few weeks later, the vinyl collection was getting a little out of hand.

Storing Vinyls
After scouring the internet for worthwhile vinyl storage solutions, we decided to go basic and collect a bunch of plastic milk crates. We would spray paint black and it would all work out. Cheap and easy. However, it didn’t work out. The records did not fit into the crates with their protective plastic sleeves. Aargh. That was it. The final straw. So I proposed to Pat that if he bought the materials, I would make us some nice DIY vinyl storage. Another project and an opportunity to get my Handyman-Sam hat on. And so I am lead to writing this post. Here, I’ll put up all of the measurements that I came up with and detail the experience that I had in making this basic storage solution. I’ll warn you, I’m no expert. So I learnt a few lessons along the way. All of which I’ll share with you. If anyone else decides to make something similar, please let me know so I can see how it looks! Feel free to use my design in any way that you wish that isn’t aimed at commercial gain.
DIY vinyl storage
Plan of Attack
I wanted my design to be simple, stackable and sturdy. It is shaped like a cube, but a little wider to allow for more records + browsing space. On the back, it has to planks of ply that run over the top and bottom with the aim of added extra strength and squaring the box up to proper 90 degree angles. It uses 30mm pine wood with a walnut varnish and has 2 strips of wood on the bottom and one on the top to allow it to be stacked. All in all, very simple.
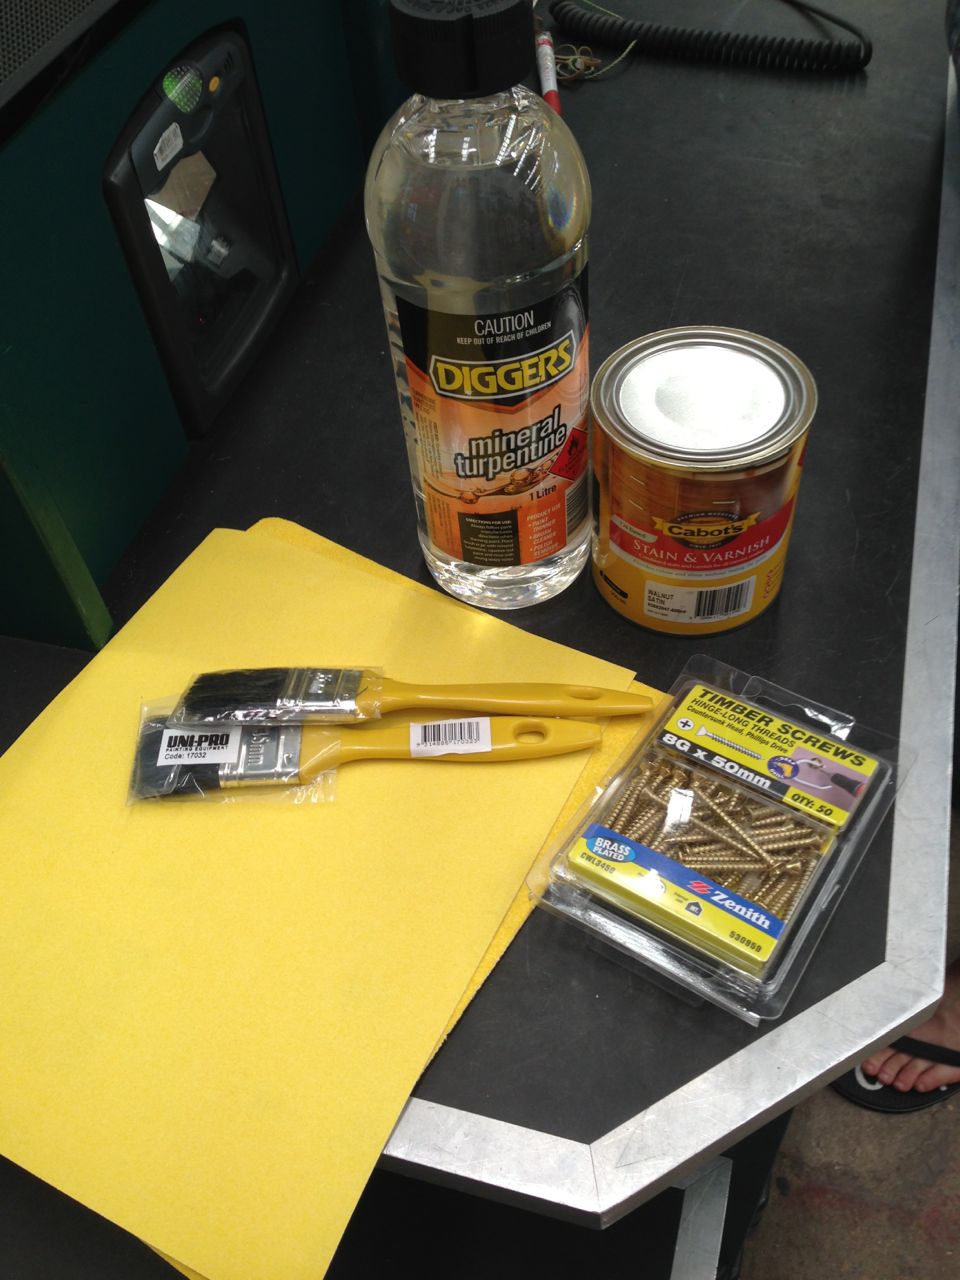
Things you’ll need
- An electric or battery operated drill.
- An assortment of drill bit sizes including a phillips head attachment.
- Fine sandpaper. Use either 240 or 320 – no smaller than 240. It should look a grey sort of colour. I made a mistake and got some sandpaper that was too course. It ended up OK though because I was able to smooth out bit of wood that had splintered when it was cut.
- Turpentine.
- Stain & Varnish – Pick a colour that you like. I used Walnut Satin.
- Paintbrushes.
- 8G x 50mm Timber Screws – 50 pack will be sufficient.
- Sanding block. You’ll need this. Trust me. Better yet, get an electric sander.
- Newspaper to put the wood on while varnish dries.
- Tape Measure.
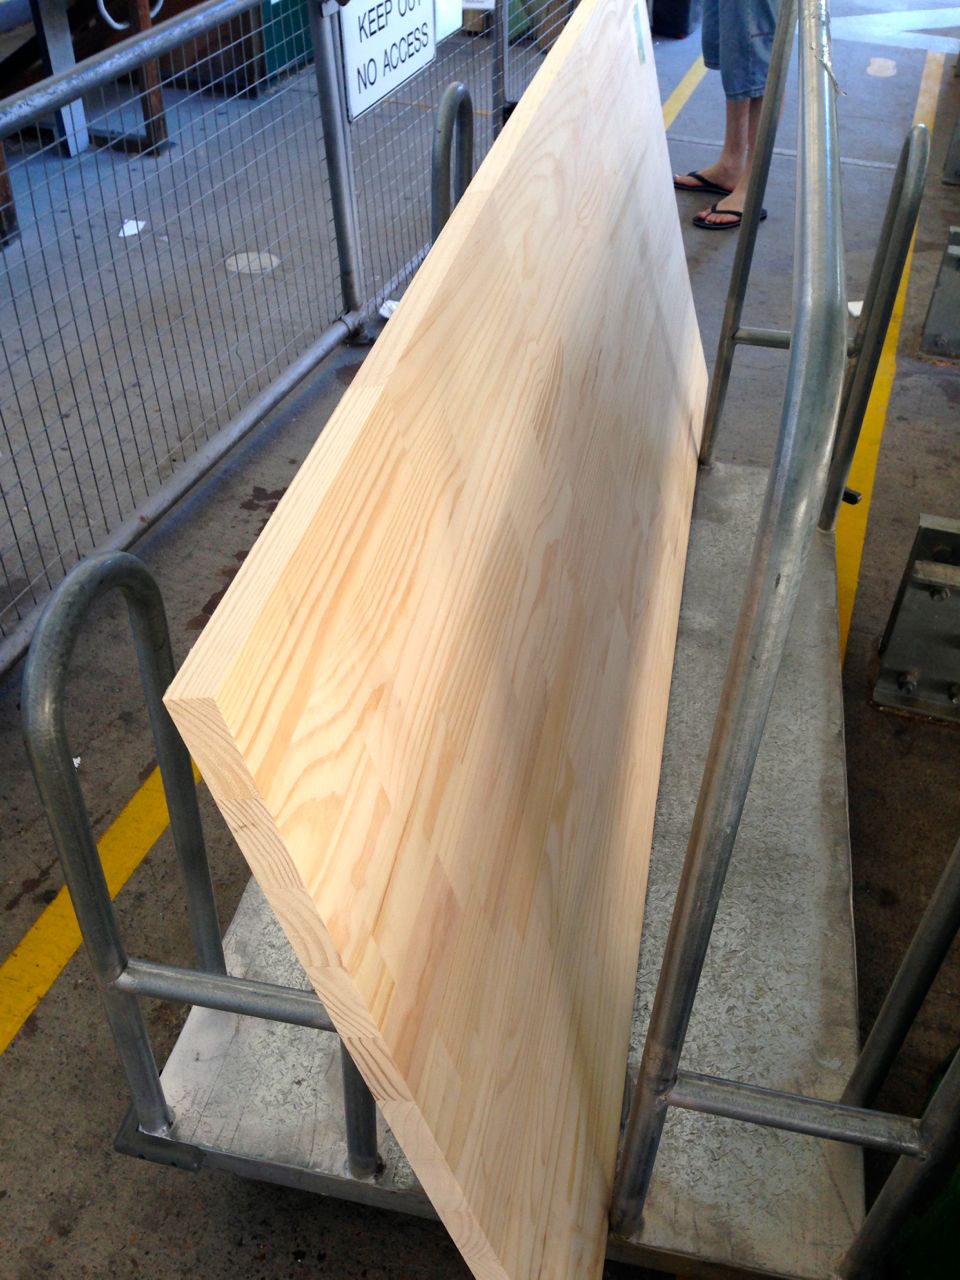
- A slab that is a sufficient size for your project. Mine was 900x2100mm.

The Process
1. Pick out the type of wood that you want to use. As cheap as ply is, it warps fairly easily. And unless you get anything thicker than 16mm, it might not be sturdy enough. My own research has also lead me to the conclusion that varnish is no good on ply. So if it’s the woody-texture that you’re after, ply is no good. The big slab of ply that we picked out was $89 from Bunnings. In my opinion, that isn’t too bad at all. After all, this is the most important ingredient.
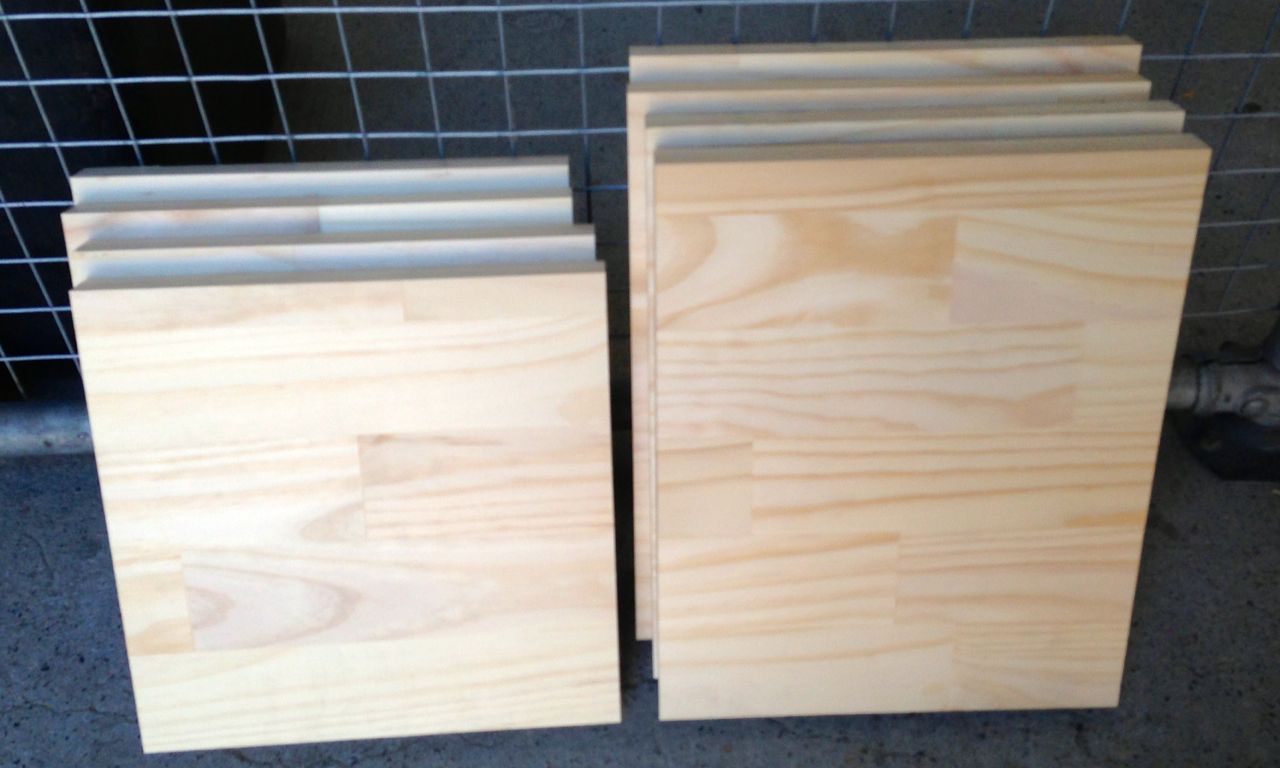
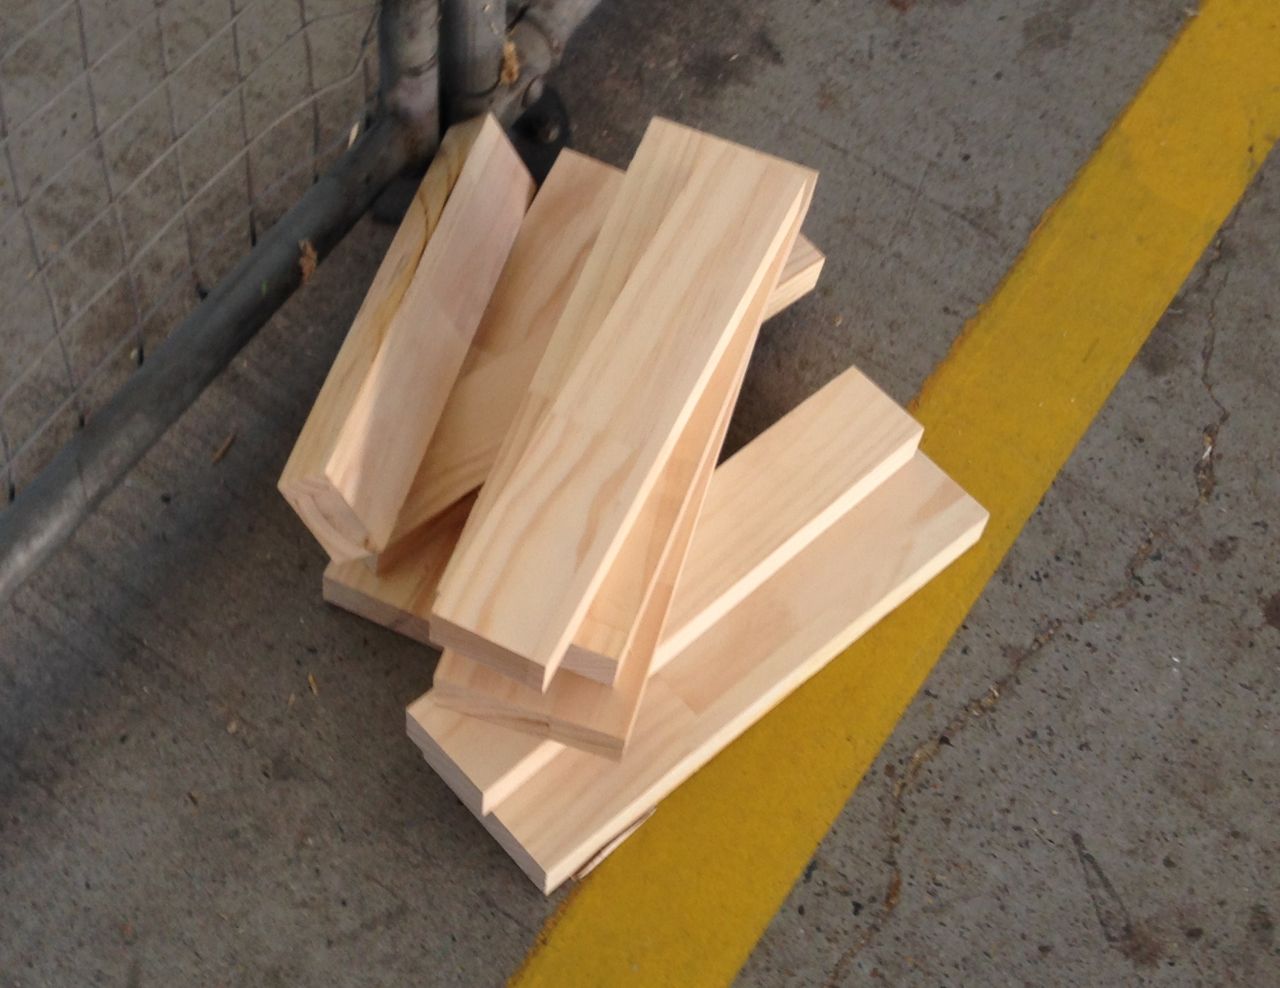
2. Cut the wood to size. For our two vinyl record boxes, here are the measurements:
- Top and Bottom panels = 410x325mm (x4)
- Side panels = 330x325mm (x4)
- Back supports = 410×150 (x4)
- Feet = 325×100 (x2, unless you want both boxes to have them – x4)
- Top connector = 325×50 (x1, unless you want both boxes to have them – x2)
If you’re lucky, you’ll get all of the measurements cut to size and the friendly guy working at Bunnings won’t charge you for it. I don’t have a table saw, you see.


3. Time to get sanding! Whip out that sanding block that I mentioned earlier and sand up the wood until it is nice and smooth using either 240 or 320 grade paper. REMEMBER: SAND WITH THE GRAIN.
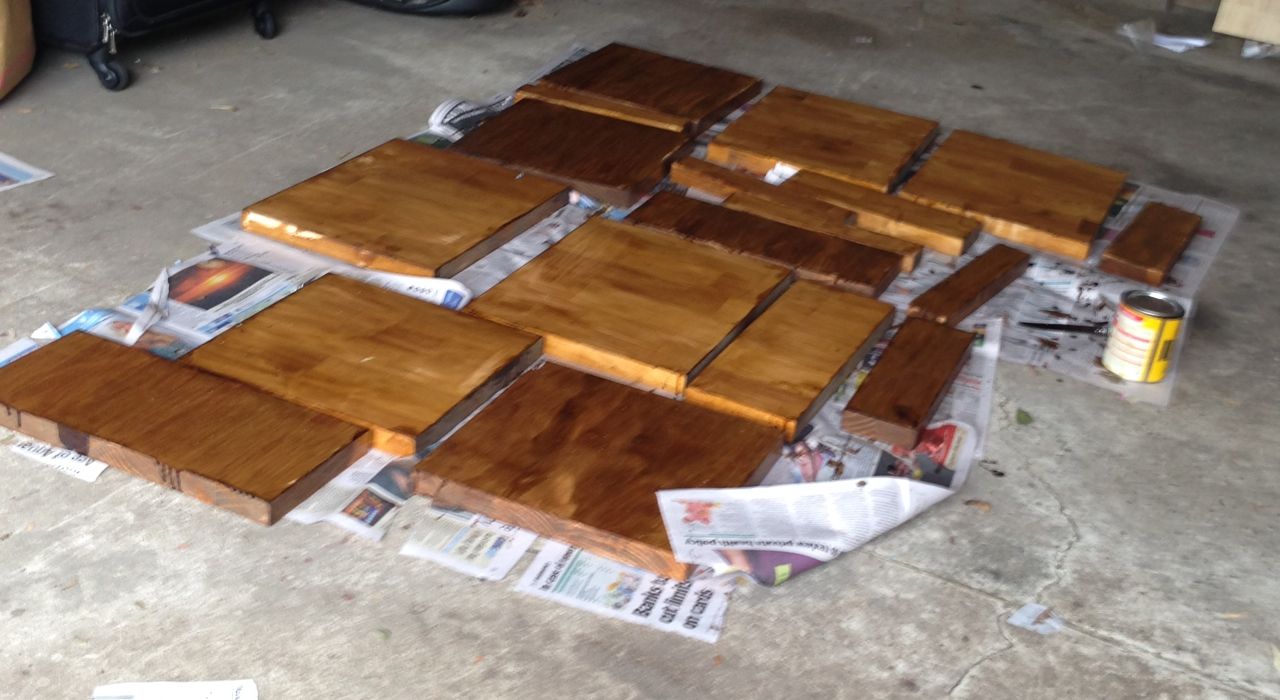
4. Paint your first layer of varnish. Make sure you stir the tin before you begin. Don’t layer the brush too thick, otherwise you’ll get too much drip going over the sides of the wood. Paint one side, let it dry and paint the other. This is the part where you have to be the most patient. When you set it up to dry, I would recommend against lying it flat on the newspaper like I did. It increases the possibility that the wet parts will stick to the newspaper which is a massive pain to peel off. Best set it up on an angle like you’ll see a bit lower.
5. After the first coat is all dry on both sides, time to get sanding again. This is also an opportunity to look over the job that you did and sand out any drip or remove brush hairs that you didn’t catch during the first layer.


6. Once you’ve sanded this layer back nice and smooth, get painting on another coat. Same drill as before, where you’ll be really careful with any drips and lose brush hairs. Slow and steady, my friends. Don’t rush it by slapping a whole bunch on the wood at a time. Here is where I decided to start laying the drying wood against the wall on an angle. Much recommended, so long as the base is on about 45degrees to the floor.


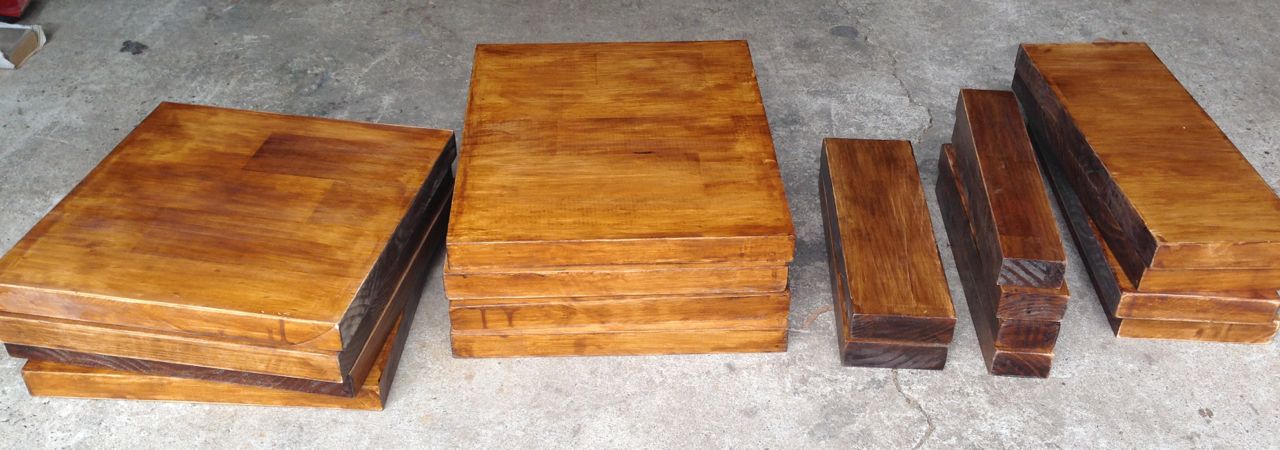
7. Guess what, time to sand again! If you’re doing a really good varnish job, your main goal here should be the smoothness factor. For me, I was happy with two layers of varnish. So after sanding, I commenced the fun part – puting it together!

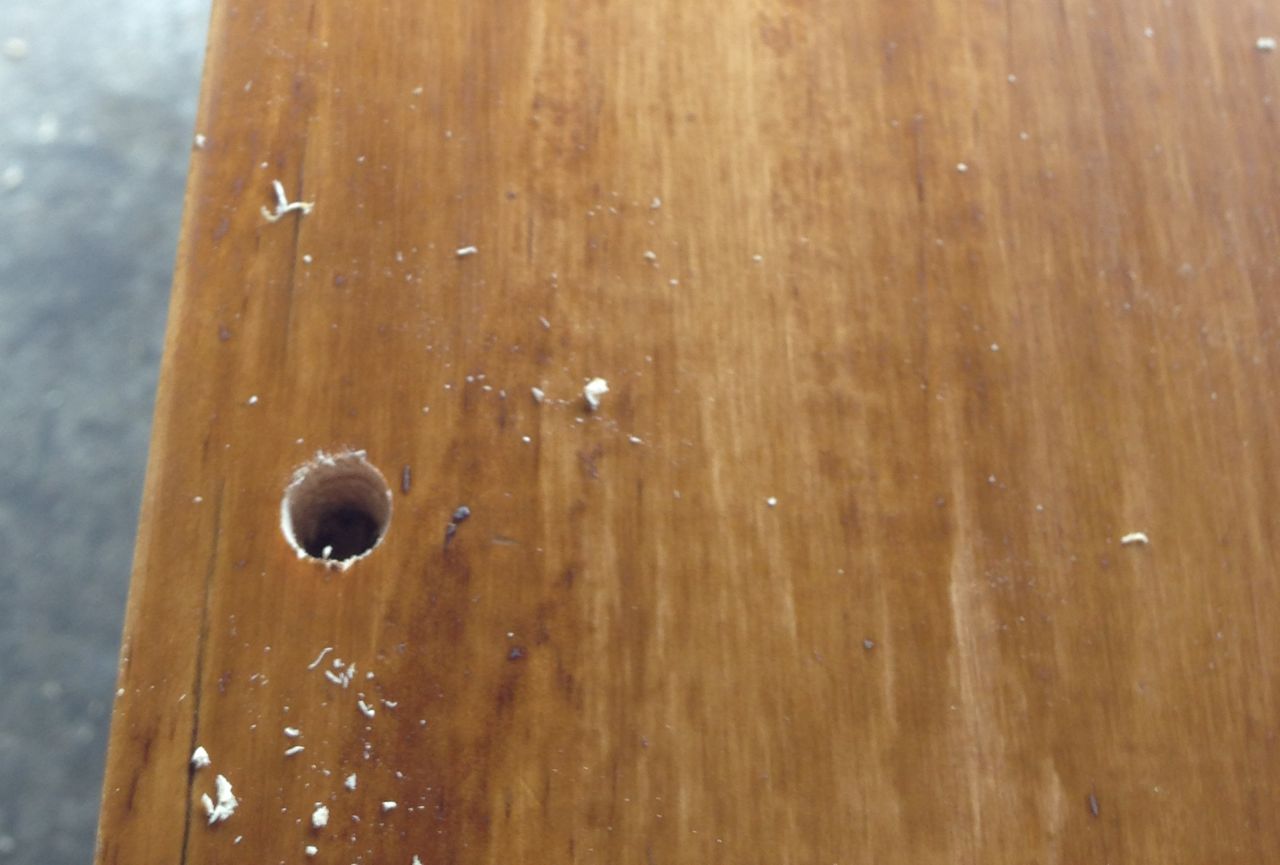
8. Sitting the top or bottom panels above the sides, estimate some good spots to screw in and mark them with a pencil. Using a drill bit around the same size as the screw, drill in accordingly. I think the one that I used was about 3mm. After the pilot holes are all made, get a larger drill bit and drill into the wood just a little bit to be sure that the head of the screw won’t stick out at all. This is essential for a final, polished look.

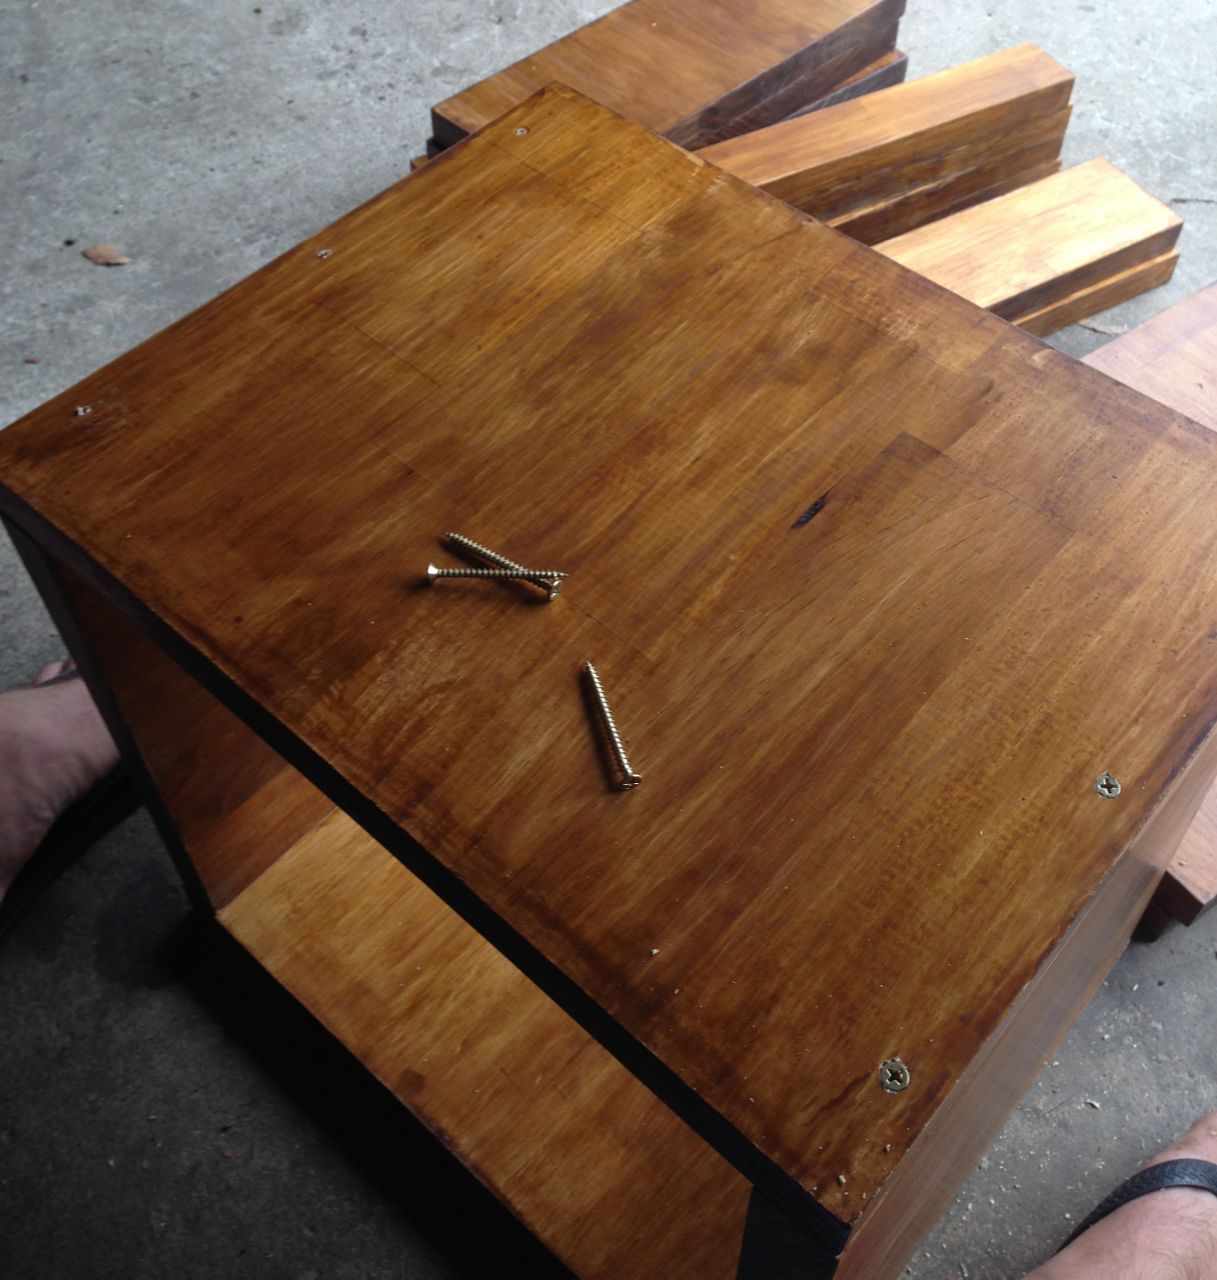
9. Once the top and sides are all screwed in, attach the panel supports on the back. Don’t be shy about being forceful when squaring up the corners with the boards. This part will be necessary in making an equal box. Drill in screws as before and use as many as you feel you need.

10. The final part of this project is attaching the wood that will allow the boxes to lock together. I had a whole bunch of trouble with this part because my friendly Bunnings cutter didn’t do too good a job on the dimensions of my pieces of wood. Even still, do the best with what you have and be sure to use that tape measure with plenty of patience.
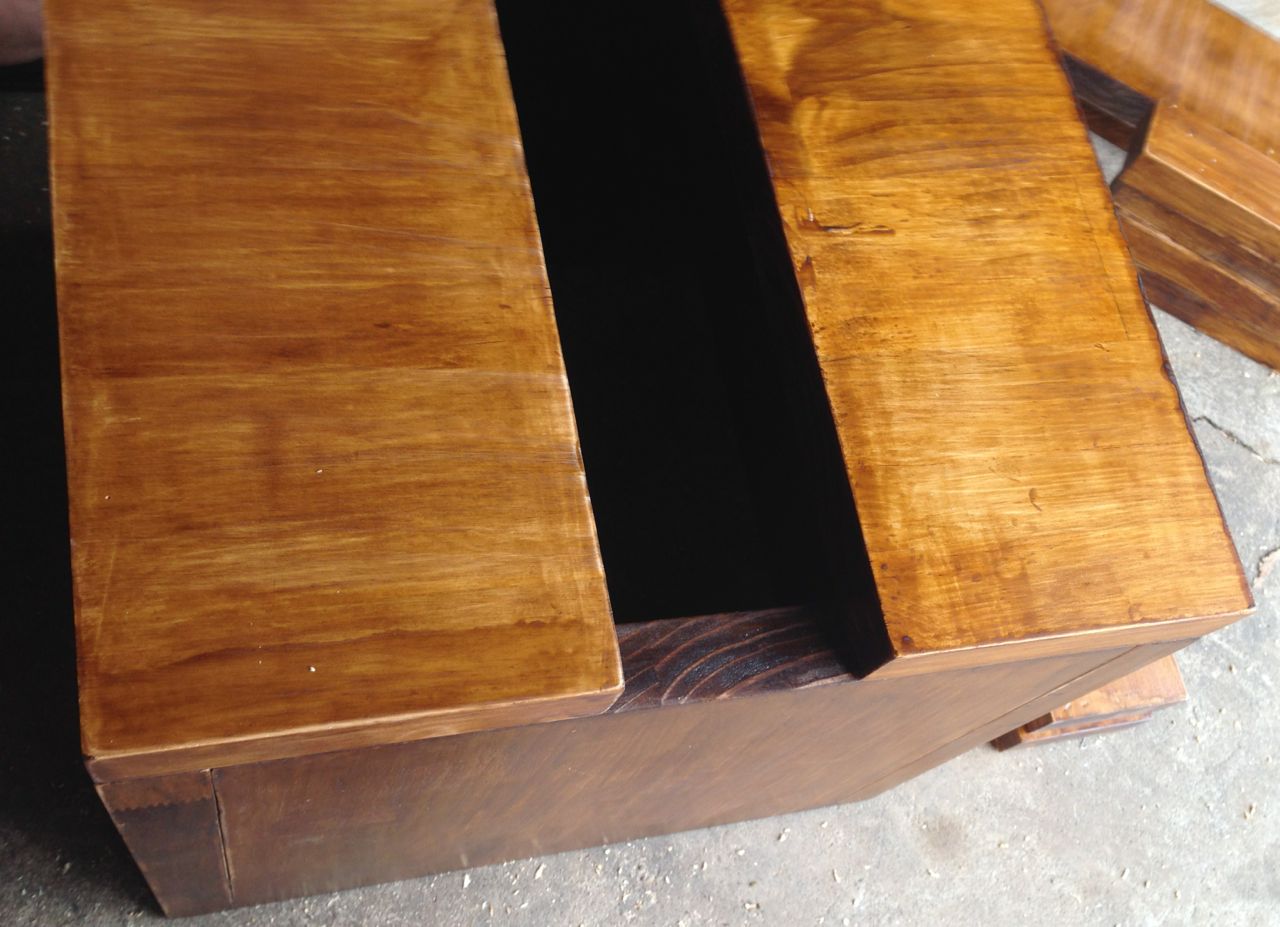
11. All finished! Carry your handy-work inside and set it up somewhere that all of your vinyl-collecting friends will be sure to see, and be jealous of. Well done!
Here is my finished product:


Final Thoughts
You know what they say… ‘If you want something done right, do it yourself.’ And so far, I’ve yet to find any DIY vinyl storage solutions that are simple, cheap and long-term. I’ve managed to make a set of quality boxes for less than $120 with less than a day’s solid work if you don’t count all of the time spent waiting for the varnish to dry. They also look great. Enjoy!